How to georeference a paper map and use it as a live overlay
National-park handouts, trail-association PDFs, scanned topo sheets, even historic maps — most of the best maps never make it into digital map apps. NomadTracks fixes that: you import or photograph the map, anchor it to the world with a few control points, and from then on it behaves like any other basemap, with your live position on it.
There are two paths: maps that are already georeferenced (PDFs/TIFFs with embedded coordinates, like Avenza-style maps) import in one tap. Everything else — including a photo of a paper map — you georeference yourself in about two minutes.
Tip for US public lands: the Bureau of Land Management’s georeferenced PDF library offers thousands of already-georeferenced maps for free download — national monuments, recreation areas and BLM lands. Those import into NomadTracks with zero setup.
Get NomadTracks free — iOS & Android
Get the map into NomadTracks
Open the Maps tab and tap +. Pick a PDF or TIFF from Files, import an existing shot from your photo library, or choose the camera option to scan your paper map with the built-in document scanner — flat and evenly lit works best. Georeferenced PDFs and TIFFs are recognized automatically and are ready to use immediately.
Straighten the photo
A map photographed on a table is never perfectly square to the lens, so NomadTracks opens Straighten automatically after a capture. Drag the four corner pins onto the corners of the printed sheet and rotate if needed. This removes the perspective skew before georeferencing, which means fewer control points and a better fit — it is far easier to correct the geometry once, here, than to fight it with extra points later.
Open the georeferencing editor
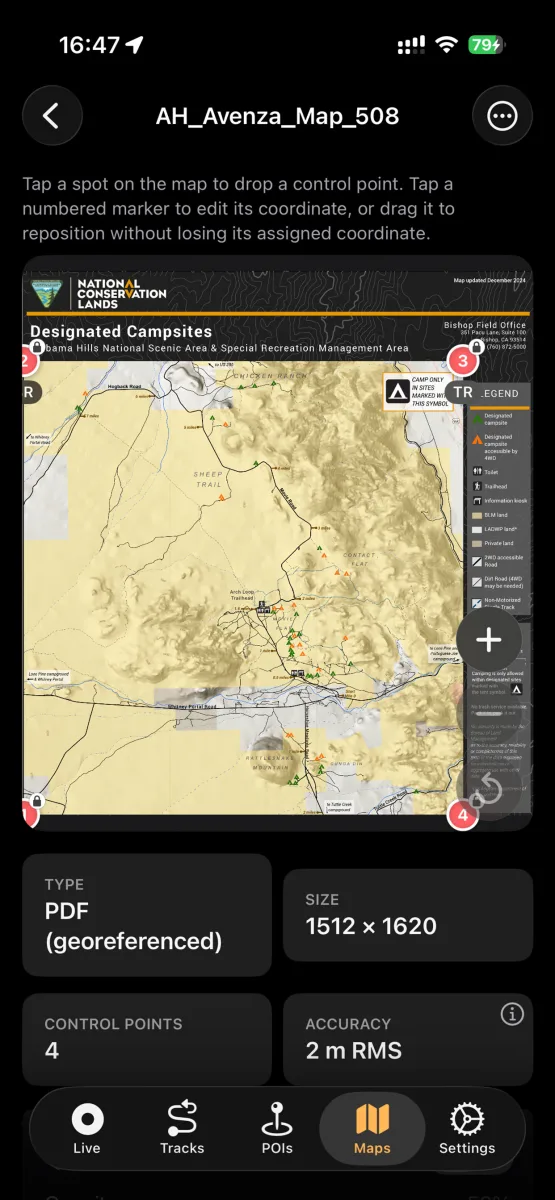
For a plain image or non-georeferenced PDF, NomadTracks opens the control-point editor: your map on top, the live world map below.
Set the first control point
Tap a spot on your map that you can identify precisely — a road junction, a summit, a building corner. Then tap the same spot on the live map. That pair is control point 1.
Add three or more points, spread out
Repeat for at least 3–4 points spread across the whole map — corners work well. The wider the spread, the better the alignment. You can drag any numbered marker to fine-tune it without losing its assigned coordinate.
Check the accuracy readout
The RMS value describes how well the fitted map matches the control points. It is not a guarantee of real-world positional accuracy. Check recognizable features away from your control points too; correct misplaced points before trusting the overlay.
Pick the fit for the sheet
By default the fit method is Automatic, which is right for almost every map. You can override it: Affine for a clean modern sheet, Polynomial for mild lens or scan distortion, and thin-plate spline rubber-sheeting for old, folded or hand-drawn paper where the geometry genuinely wanders. Rubber-sheeting bends the image to honour every control point, so use it when the map itself is imperfect — not to paper over sloppy points.
Use it on the trail
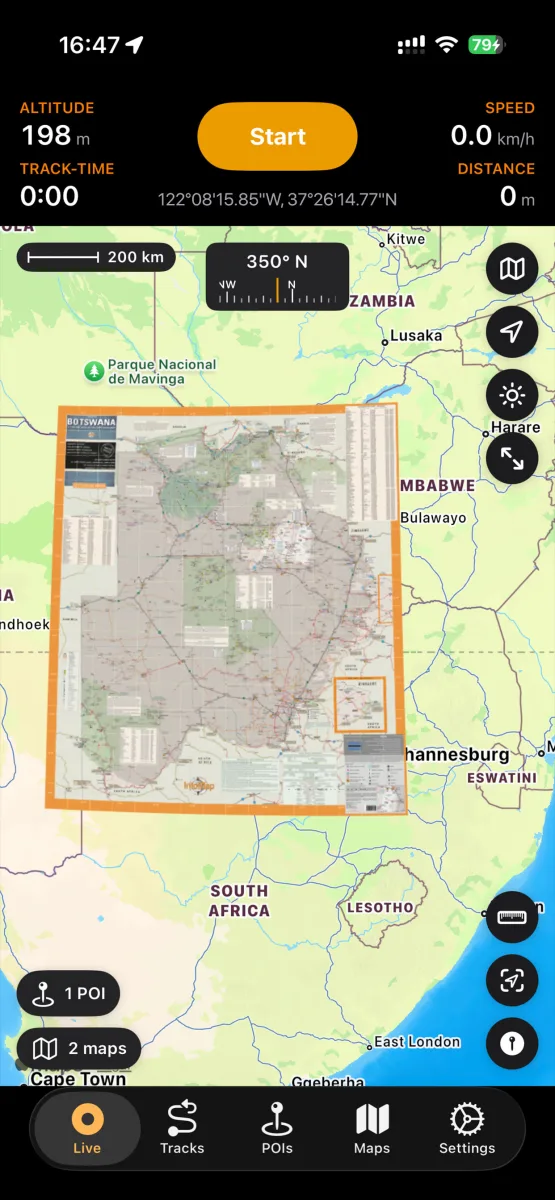
Save the map and enable it as an overlay. Your live GPS position, tracks and POIs now appear on your own map — and because the map is stored on the device, it works with no signal at all. The map shown here is a Southern Africa sheet from InfoMap.
Android example: Yosemite Valley
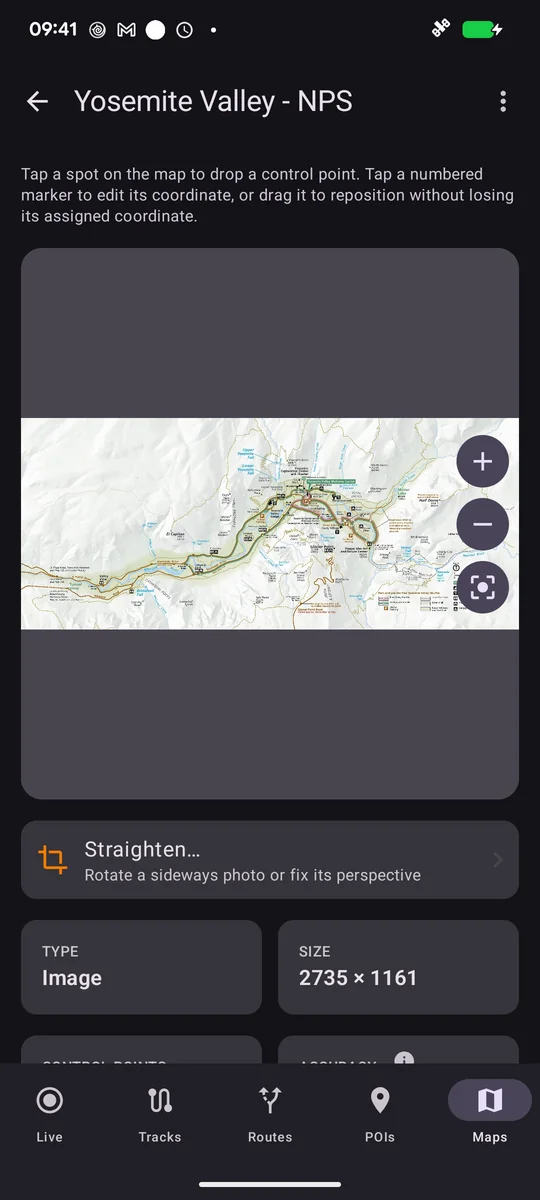
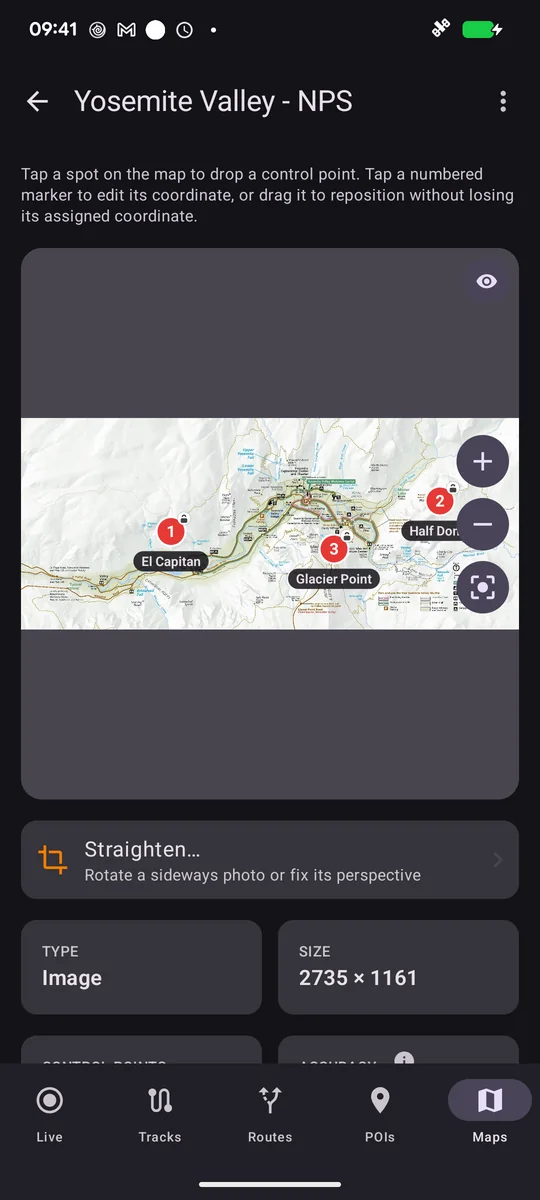
Import a map image from Maps → + → Import Custom Map → From Photo Library. Tap a recognizable point on the image and enter its matching coordinates. Spread at least three points across the sheet. This NPS example uses El Capitan, Half Dome and Glacier Point, with coordinates checked against the publisher’s georeferenced reference. The final image is displayed over NomadTracks Map. Source: National Park Service.
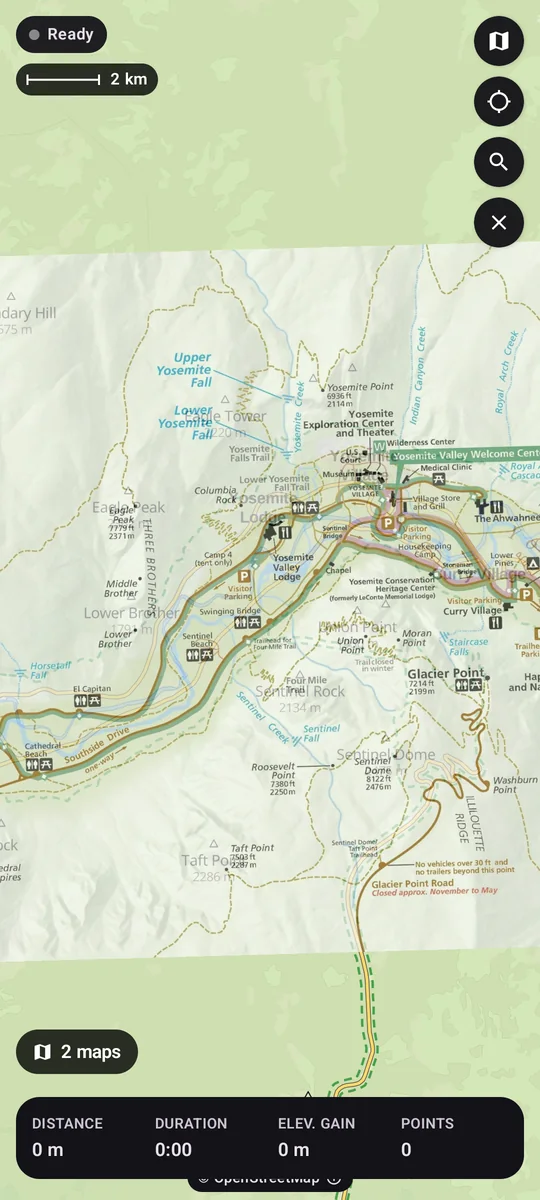
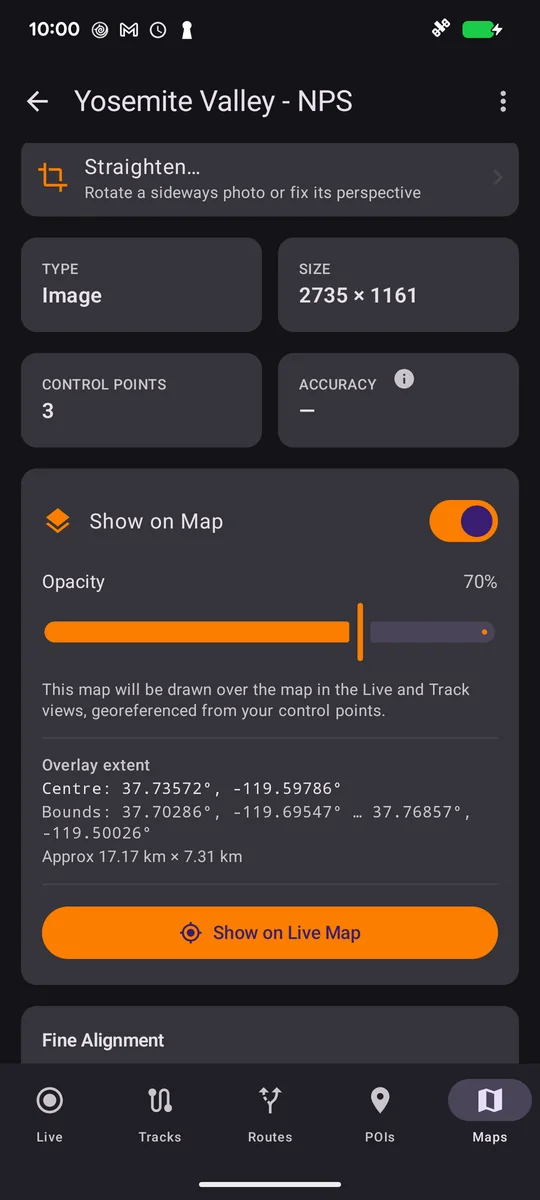
Adjust the overlay opacity
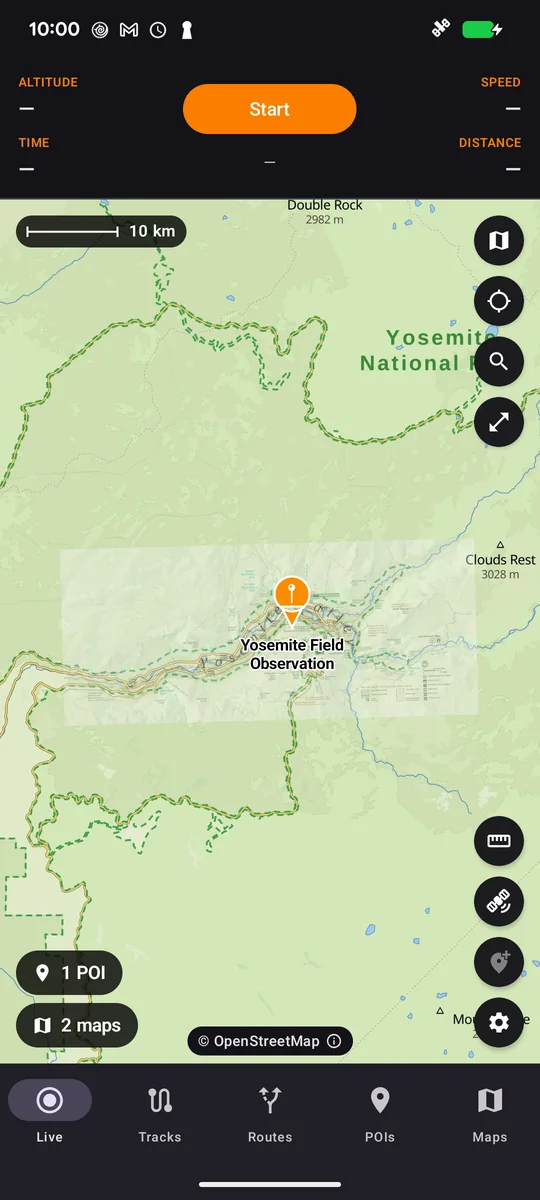
In the map’s details, use Opacity to reveal the basemap beneath your sheet, then tap Show on Live Map.
Video: compare your map with the basemap
Adjust the custom map’s opacity to compare its details with NomadTracks Map underneath.
Watch the Android walkthrough on YouTube with English narration and captions.